
Can I tempt you with some aquatic cookies? I made this set of cookies for a teacher appreciation event at my sister's school. Since I get so many questions about how I decorate my cookies, I decided to create a tutorial of sorts. A talented friend photographed the final product, but unfortunately you're stuck with my little point and shoot camera for the step-by-step photos.


Take a look at how I made them:
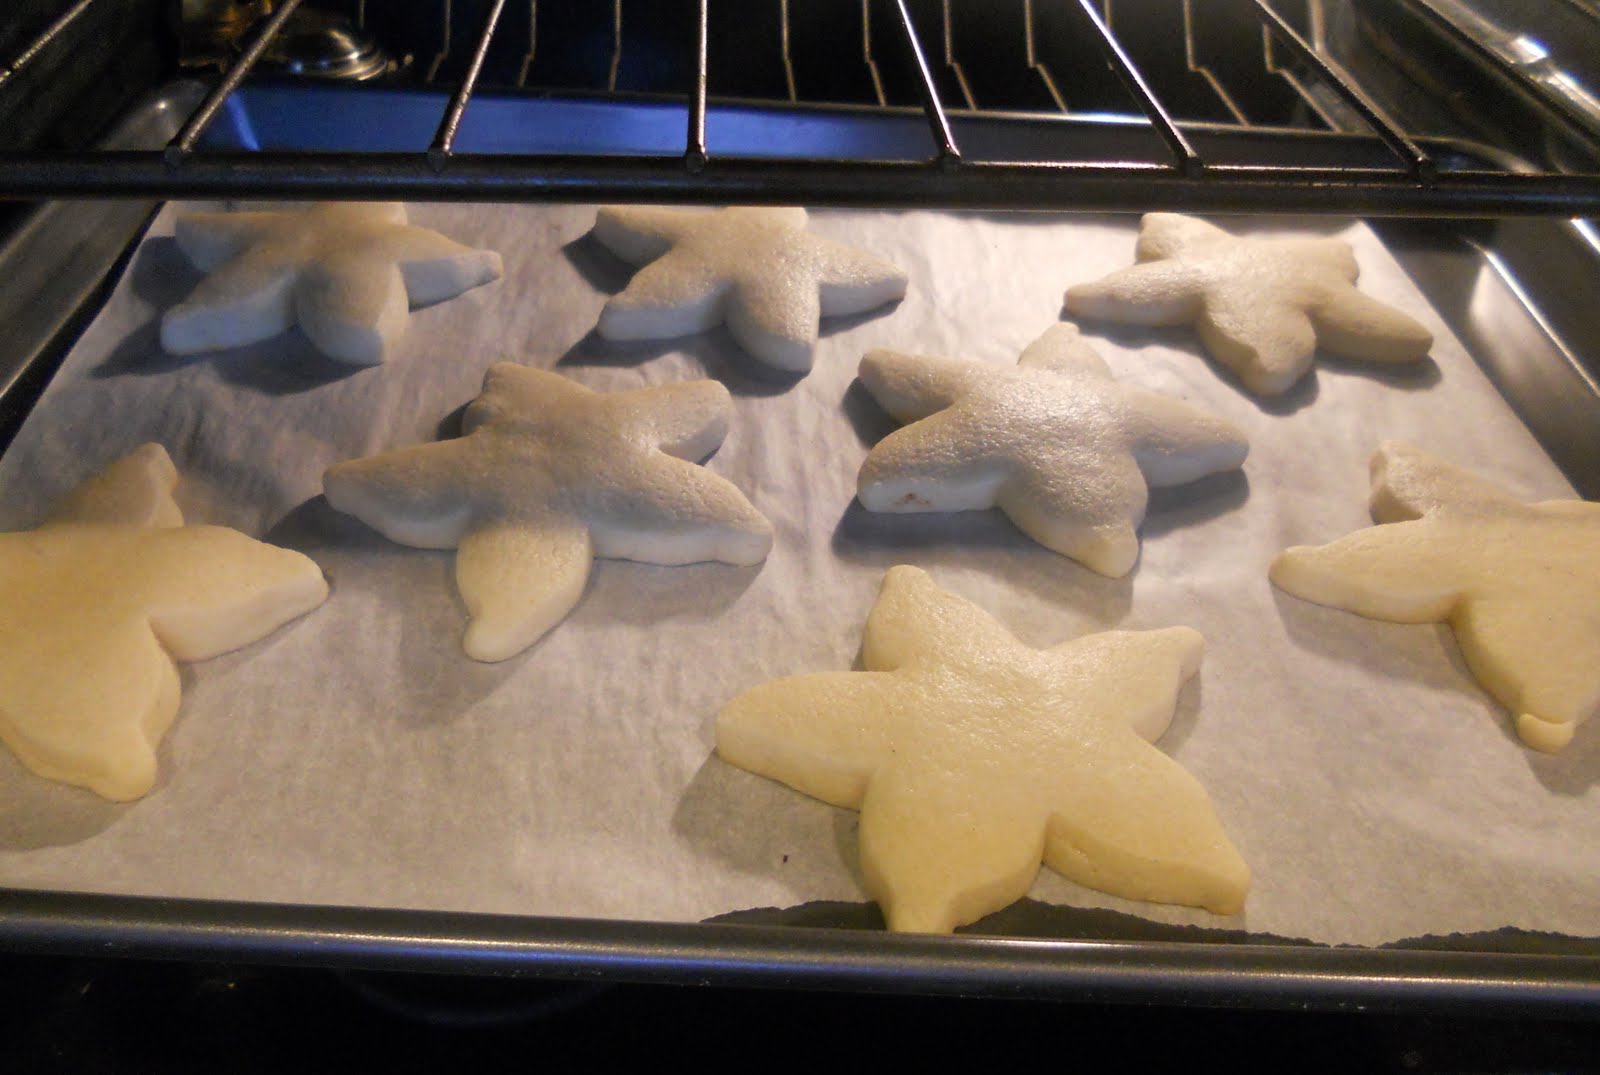
I rolled, cut, and baked very thick sugar cookie dough. The dough had some vanilla bean and lots and lots of butter. Before baking, I froze each tray of cookies for 15 minutes to help them preserve their shape. I also omitted the baking powder in my favorite sugar cookie recipe. This didn't change the flavor, but it helped keep the edges clean even after they baked.

20 starfish and 20 seahorses. Because they were so thick, it took a triple batch of cookie dough to make them all. I was pleased by how well these cookies held their shape after baking even though they were so thick.

After cooking, it's time to start piping the royal icing. I use a mixture of pasteurized egg whites, lemon juice, and powdered sugar.

I started with the outline on each cookie, letting it dry before filling the center.


After piping the outline, I thinned out the royal icing to flood the center. I glopped a fair amount of icing into the center of the cookie and spread it to the edges with a toothpick.
Tip: After flooding, firmly rap each cookie on the table to encourage the air bubbles to rise to the top. Immediately, use toothpick to pop the bubbles so they don't form holes after they dry.

The marbelized sea hoses were made by piping two lines of green icing onto the still-wet flooded cookie. I then used a toothpick to draw a line through both colors at once, creating the swirl. I took about 15 pictures of this process, but I'm sorry to report that each and every one of them came out blurry, so use your imagination.

After the flooding has had a chance to dry (I waited about 3 hours), I started piping the details. Here, I piped the large dots before going back and adding the smaller details. Pretend you don't notice that my work surface gets increasingly covered in frosting.
Ta Da!

I set them out on a white ceramic tray with graham cracker crumbles mimicking sand.


Inspiration for one of the seahorses came from here.

I love the great texture from the raised dots.These were definitely some of my favorite cookies and they were a big hit at the event!
No comments:
Post a Comment