When I was practicing for the wedding last month I though I'd help you learn, too. I think that most baked gooks look harder to make than they actually are, and these are a perfect example of that. It's pretty impressive looking dessert that anyone can make with just a little time and patience. Today we're making some checkerboard cookies using a standard sugar cookie recipe. Just use your favorite recipe and leave out the leavening agents for a great flavor with crisp, clean edges.

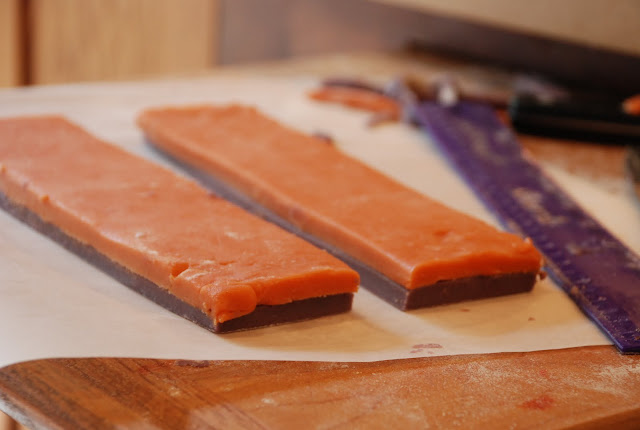
Divide dough and knead in your colors. Roll it out really thick (about a centimeter) and cut each color into equal-sized slabs. Mine were about 10 x 7, but the dimensions don't really matter as long as they're the same size. My hands were too covered in food coloring to take pictures until this point, so use your imagination for the measuring bit.
Freezing the dough after it's rolled makes it easier to work with and helps it keep its shape. Use a ruler to make sure everything is exact.
Stack the pieces and trim the edges.
Eat scraps quickly before anyone notices. I promise not to tell.
Slice your dough in half so you have two equal sized strips.
And stack those on top of each other, forming a log.
I brush each strip with egg white before stacking because it makes everything stick together nicely.
(Yes, my nails are painted an obnoxious color. Don't judge.)
Measure and cut long strips that are about as thick as you originally rolled each color. This means that when you look at the piece you sliced at eye level, the boxes are square. This means that if your original solid rectangle was 1 centimeter thick, you should try to make these strips the same thickness. You can slice thinner or thicker, but if you do so you'll have rectangles at the end, not squares.
I was very precise with these because I wanted the checkerboard pattern to be perfect! Use a ruler and a big knife, being careful not to slant inwards as I have a tendency to do.
Stack the strips on top of each other, making sure to flip half of the strips over so the colors are alternated.
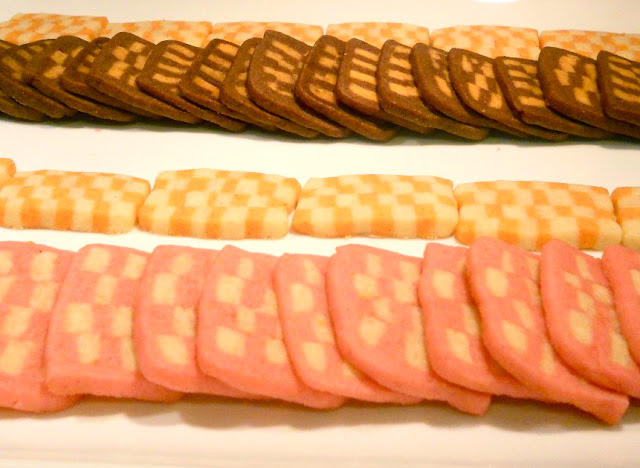
Now you can just slice and bake! This log made about 25 cookies. Again, I freeze the log at each step to make it easier to work with. I also froze the cookies on the tray after I cut them and before I baked them. This helps them keep their shape because it prevents them from puffing up and spreading too much.
Experiment with different colors and try adding a pretty border, as shown below, by wrapping the finished log in a thin sheet of extra dough. So easy to make piles and piles of them!
I currently have a log of this in my freezer just waiting for a special occasion. It keeps for quite a while, so just make up a few and keep them around. I like to make and freeze a few logs before I leave for school so that my mom has something handy when she wants to impress visitors. Try bagging them up and using them as party favors or gifts! The classic combo is chocolate and vanilla, but don't let that stop you from making them in any color or flavor combination.
Happy baking!


No comments:
Post a Comment