Showing posts with label checkerboard cookies. Show all posts

Sunday, October 13, 2013

Hogwarts

Last summer, a few friends and I hosted a 24 hour Harry Potter Movie marathon. Yes, the same friends who co-hosted the Indiana Jones party and the James Bond Extravaganza. It was just as dorky - and just as much fun! - as it sounds. We watched all 8 movies in a weekend filled with snacks, games, costumes, and general goofiness. The only problem we have now is figuring out what we can do to top this crazy party.
 

The guests came in costume and we had a number of activities - a triwizard tournament including apple bobbing and puzzeles, paper mache dragon eggs, patronus balloons, a magical felted critters, and, of course, elavorately relevant decorations. Think golden snitches hanging from the ceilings, Azkaban escapee posters on the walls for each guest, hanging (electric!) candles everywhere, and a dark castley vibe.

The bathroom was super creepy with a homemade moaning myrtle CD and a giant picture of a troll. Each framed photograph in the house was replaced with pictures of knights and other mythical people and streamers in house colors decorated the ceiling. In the corner was a giant spider.

I wish I had more pictures of the decorations - they really were fabulous.


 The patronus balloons were really fun - ahead of time, we blew up baloons and drew a magical creature on them in sharpie. We deflated the balloons before tossing them out to guests so that their patronus was a surprise when they blew them up (at the same time in the series that Harry was learning the patronus charm, of course).


We had all sorts of coloring pages and puzzles (unscramble the words, crosswords, word search, make your own latin spells, etc) to keep the guests occupied at all times.


Of course, I made plenty of magical snacks as treats. There aren't any pics of them, but I also made chocolate frogs stuffed with peanut butter, marshmallow, or raspberry cream using chocolate molds. A Pensive Punch has swirls of luster dust shimmering and glittering with gem-shaped ice cubes and there was plenty of butterbeer to go around. 

In labeled and distressed-looking mason jars we also served:

Bertie Botts every flavor beans (jellybeans)

Luna Lovegood Loves Pudding (chocolate pudding)

Floo powder (pixie sticks)

Mandrake carrots

Dragon Scale (chips)

Newt’s Eyes (grapes)           

Wands (pretzel wands dipped in chocolate and sprinkles)
sorcerer’s stones: chocolate rocks


Let's start with my favorite: an epic Hogwarts Express cake!


My dad made the stand for me and my co-hosts painted it beautifully. I didn't love the coal car, but the engine was awesome!


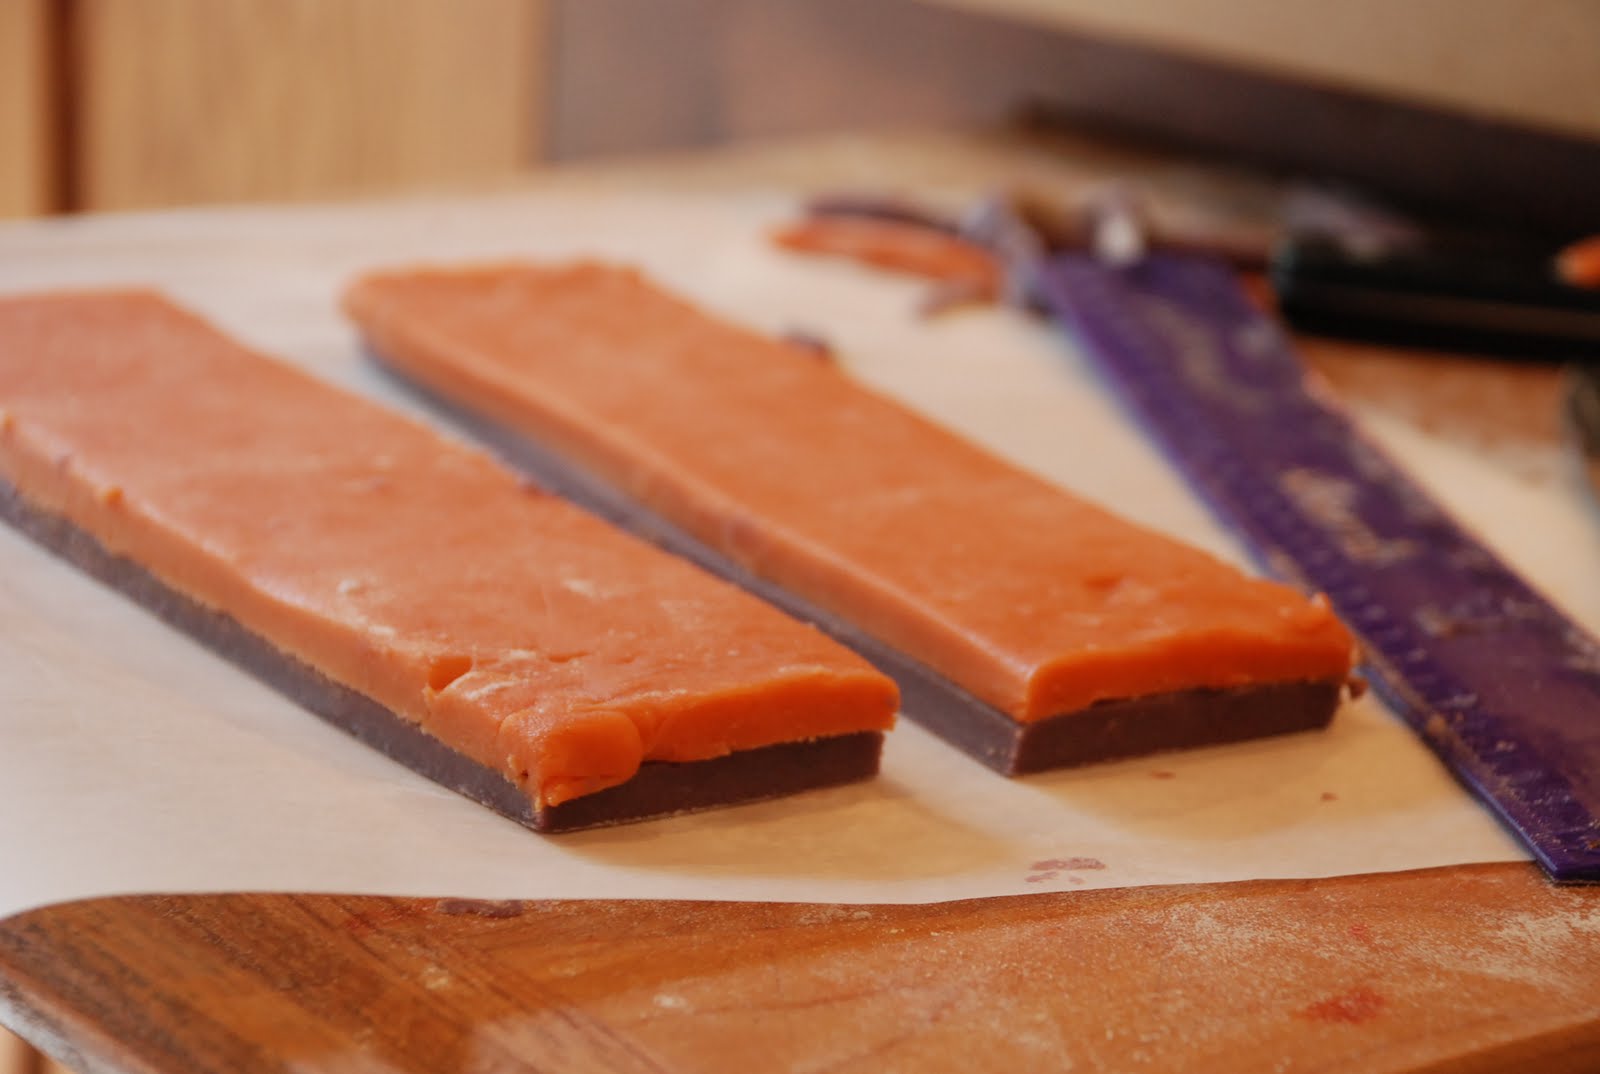
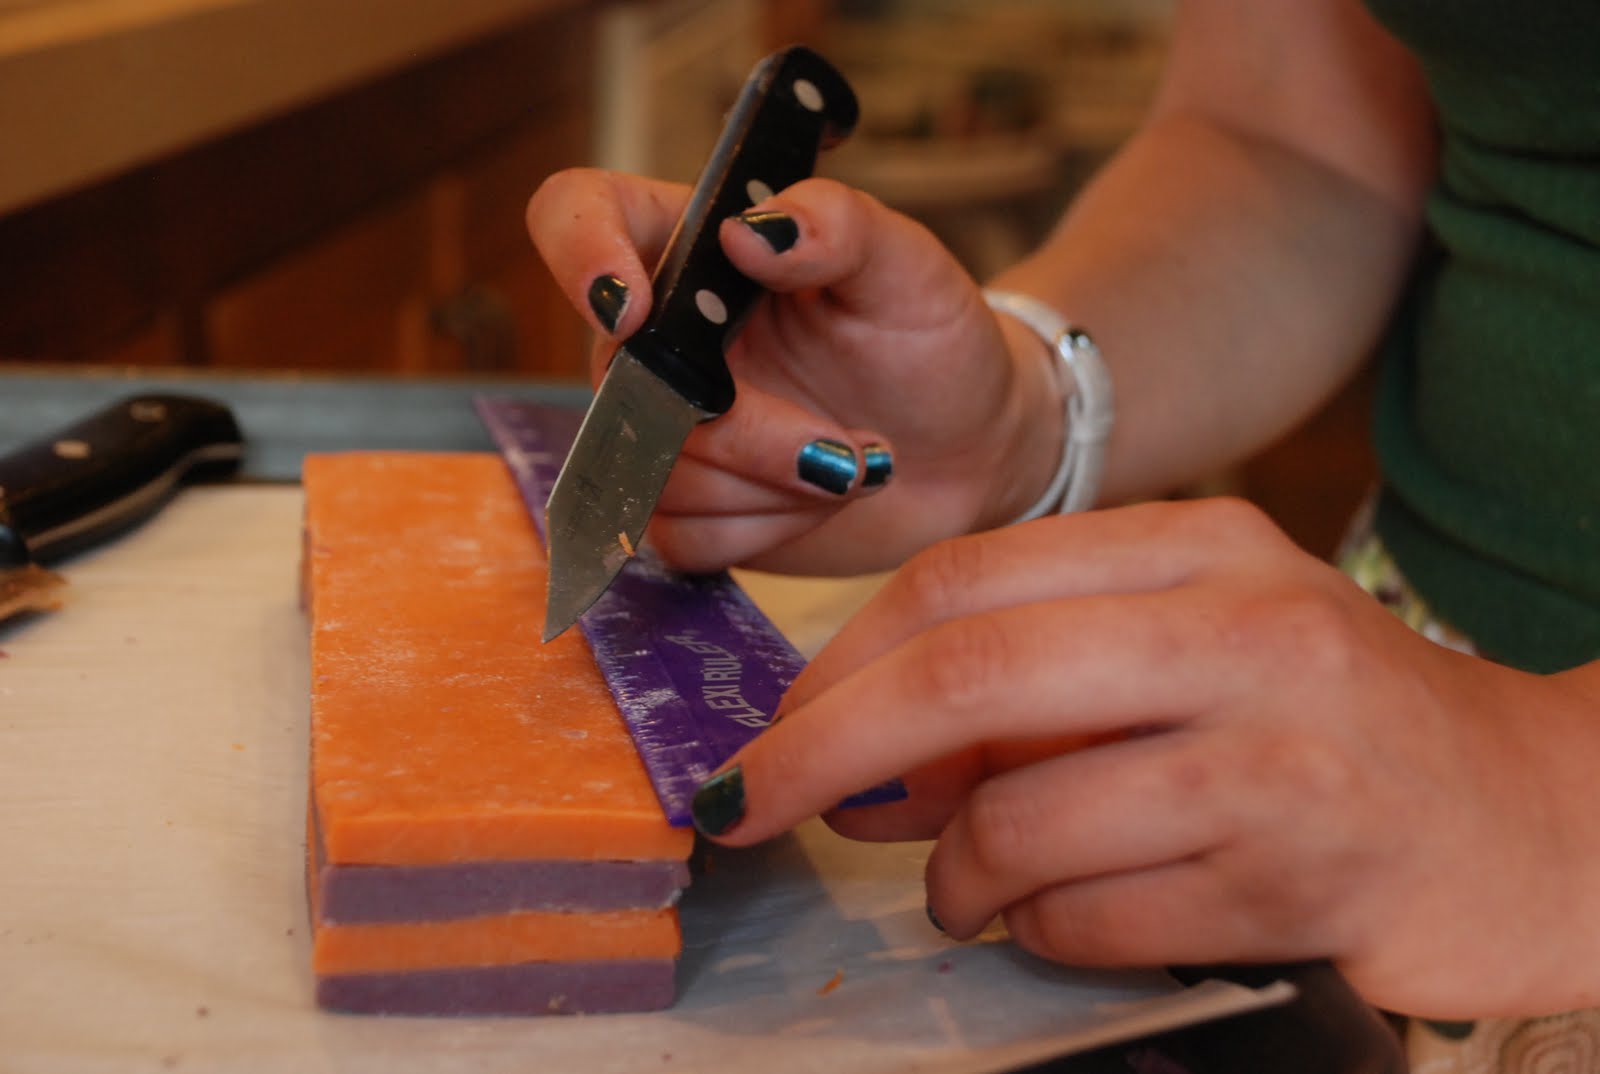
Checkerboard cookies for each house.


Golden snitch cake pops (I know I know, too much cake. But I couldn't let the scraps from the Hogwards Express cake go to waste).


Sorting hat cupcakes. We used these to "sort" our guests into houses when they arrived. Each cupcake had cake/pastry cream filling in colors representing a house. The guests had to pick a cupcake, take a big bite, and reveal which house they were in!


The sorting hat figurines on top were hand sculpted using homemade modeling chocolate. A royal pain, but I think it was worth it.


Oh, and in case you're wondering, I ditched my guests and went to bed around 3. All this baking can really wear a gal out!

Thursday, December 15, 2011

The wedding! 450 mini desserts and a cake, but I survived to tell you about it.

And now for the one post everyone keeps asking me about! Finally time for the wedding dessert table pictures. These lovely photos were taken by the lovely Stephanie Fishbein. She came over right before I packed everything up and took these shots as I was rushing to get everything into the car.

This project was incredible. My mom and I made 450 miniature desserts and a cake. Everything was drenched in color and so bright and happy. The baking took days and a mind-boggling amount of work, but I'm so glad we did it and the adrenaline rush lasted for days. The wedding colors were purple and orange and it was great to make the treats so bright!

Without further ado:


I made 50 little lemon meringue pies


50 vanilla cupcakes dipped in sprinkles and topped with creamy vanilla frosting. The cakes themselves were orange and if you look carefully you can see a bit of color peeking out from under the sprinkles.


And, of course, topped with orange glitter. 


50 of these very popular Oreo red velvet cupcakes dipped in chocolate ganache with cream cheese frosting.


And 50 chocolate mint cupcakes with chocolate frosting.


 Dipped in orange sprinkles for an extra crunch and pop of color.


75 beautiful vanilla-bean checkerboard cookies.


Little fruit tarts. These all had nutty crusts, vanilla-bean pastry cream, and fresh peaches. They were topped with an apricot-lime glaze to keep them fresh and juicy.


Don't you love the heart shapes?


Homemade coffee ganache truffles. 


The chocolate, surprisingly, tempered beautifully and these traveled very well and lasted a few days unrefrigerated, so I was able to make them a bit ahead of time.  I love the luster dust on top!


Quadruple chocolate cake pops. 


These were so much fun to decorate and I went crazy with the sprinkles. The bride and groom supplied the vases and the marbles - I think they're prefect.


At this point were were running short on time, so I had Stephanie photograph these in their transportation container, not on the pretty white plates.


They still look delicious!


Last but not least, the wedding cake. Inside are layers of purple cake, orange cake, and purple/orange marble cake. 


Everything very carefully hand piped, which was a challenge given my lack of sleep and shaky hands. the purple dragees were carefully placed with tweezers.  


The monogram topper is made out of white chocolate and edible glitter, propped up oh-so-carefully with bamboo skewers. 


And here's where I messed up. Long story short: everything traveled well, I remembered to bring my camera, but I FORGOT TO BRING THE CAMERA BATTERY. I was so excited to take a picture of the whole display, but it just didn't happen. Fortunately, the photographer got a shot of the table, so you can get a sense of what it looked like. 


My mom and I wore out matching bright pink "I Like to Bake" shirts and kept replenishing the treats as the guests enjoyed them.  You can't see the little notecards very well, but we made little signs telling guests about each treat.

I have trouble communicating the enormity of this project. Everything was made in my little kitchen and it was a great experience to spend so much time working with my mom. My sister helped with the sprinkles, my dad made the white stands, and everything happened perfectly. I prepared for months and learned so much!

Saturday, September 10, 2011

You Can Make Checkerboard Cookies Too!

When I was practicing for the wedding last month I though I'd help you learn, too. I think that most baked gooks look harder to make than they actually are, and these are a perfect example of that. It's pretty impressive looking dessert that anyone can make with just a little time and patience. Today we're making some checkerboard cookies using a standard sugar cookie recipe. Just use your favorite recipe and leave out the leavening agents for a great flavor with crisp, clean edges. 


Divide dough and knead in your colors. Roll it out really thick (about a centimeter) and cut each color into equal-sized slabs. Mine were about 10 x 7, but the dimensions don't really matter as long as they're the same size. My hands were too covered in food coloring to take pictures until this point, so use your imagination for the measuring bit.


Freezing the dough after it's rolled makes it easier to work with and helps it keep its shape. Use a ruler to make sure everything is exact.


Stack the pieces and trim the edges.


Eat scraps quickly before anyone notices. I promise not to tell.


Slice your dough in half so you have two equal sized strips.


And stack those on top of each other, forming a log.


I brush each strip with egg white before stacking because it makes everything stick together nicely.


(Yes, my nails are painted an obnoxious color. Don't judge.)

Measure and cut long strips that are about as thick as you originally rolled each color. This means that when you look at the piece you sliced at eye level, the boxes are square. This means that if your original solid rectangle was 1 centimeter thick, you should try to make these strips the same thickness. You can slice thinner or thicker, but if you do so you'll have rectangles at the end, not squares.


I was very precise with these because I wanted the checkerboard pattern to be perfect! Use a ruler and a big knife, being careful not to slant inwards as I have a tendency to do.

Stack the strips on top of each other, making sure to flip half of the strips over so the colors are alternated. 

Now you can just slice and bake! This log made about 25 cookies. Again, I freeze the log at each step to make it easier to work with. I also froze the cookies on the tray after I cut them and before I baked them. This helps them keep their shape because it prevents them from puffing up and spreading too much.


Experiment with different colors and try adding a pretty border, as shown below, by wrapping the finished log in a thin sheet of extra dough. So easy to make piles and piles of them!


I currently have a log of this in my freezer just waiting for a special occasion. It keeps for quite a while, so just make up a few and keep them around. I like to make and freeze a few logs before I leave for school so that my mom has something handy when she wants to impress visitors. Try bagging them up and using them as party favors or gifts! The classic combo is chocolate and vanilla, but don't let that stop you from making them in any color or flavor combination.


Happy baking!

Blog has moved, searching new blog...